


make it: holiday wool wreaths! December 12, 2014
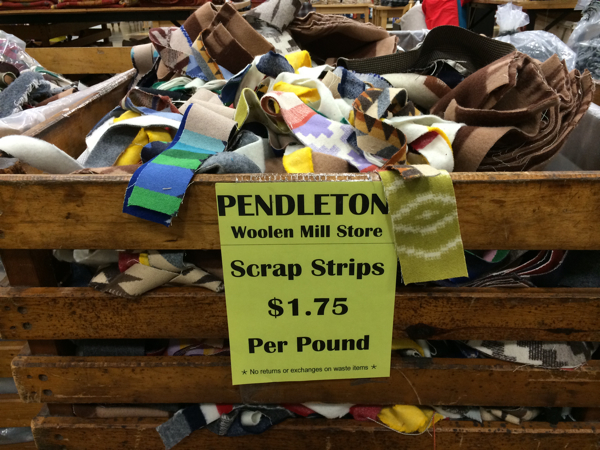
I wanted to come up with a quick and easy holiday project in between my bigger ideas (the tree skirt I’ve been hoping to make for the last two years, Christmas pajamas for both kids) and saw a GREAT photo of a holiday wreath on Instagram made with scraps from the Pendleton Woolen Mill Store! I will come back and add a link when I find out the credit, but sadly all I remember right now was that it was made by someone at SCRAP and she used a whole bunch of different colorful jacquard strips all around the circle. I stopped by the WMS a couple days ago and bought 2 pounds ($3.50 worth) of these scrap strips of a few different wools (here’s the bin, yes, they’re just $1.75 a pound), then headed home to try making my own version, inspired by that one!
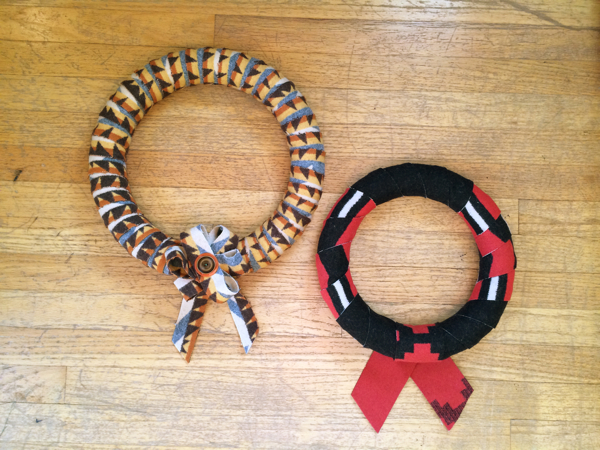
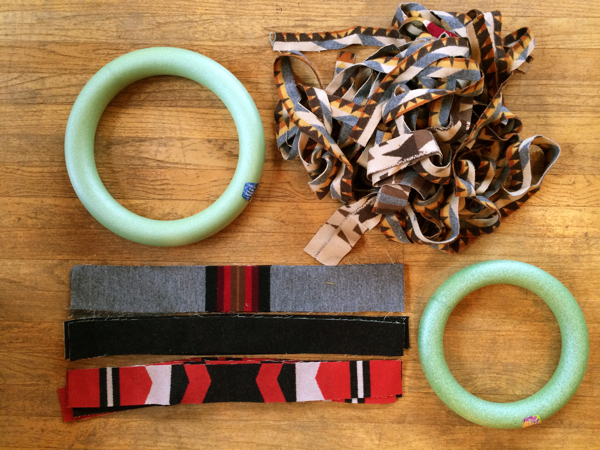
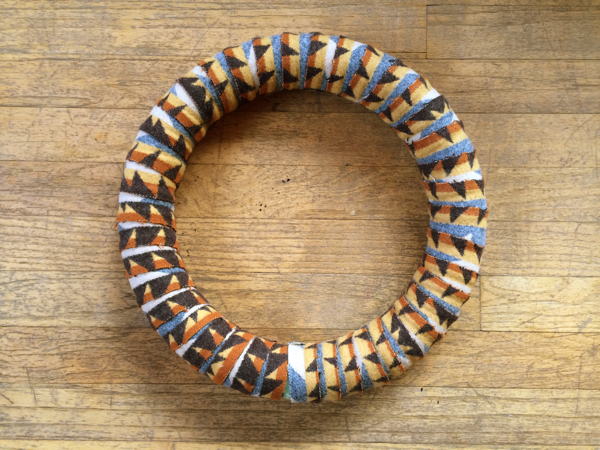
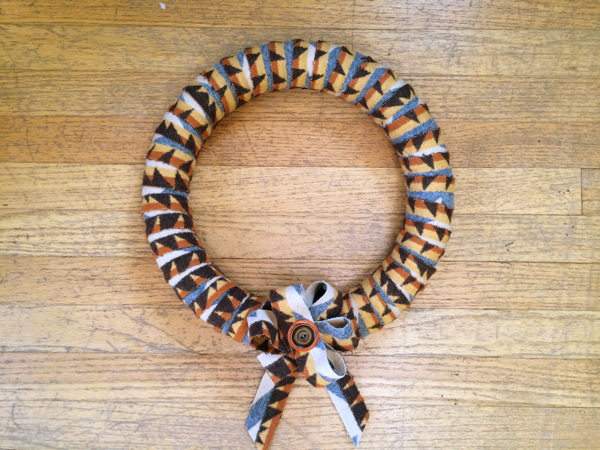
I bought 12” and 14” foam wreaths to experiment with and decided to use these longer, skinnier strips of Pendleton jacquard wool for the bigger one, and shorter, wider red and black jacquard strips for my smaller one. For reference, the 14″ wreath used four 1.5” wide x 70” long strips of the same pattern to wrap around plus one for the rosette, and the 12” wreath used four and a half 2.5” wide x 24” long strips to wrap around (two red, white and black, and two and a half solid black), plus 1 to make the decoration. You can certainly improvise any way that works – cut a larger piece of wool into strips, alternate with multiple patterns if you have lots of different ones, use ribbon, cut strips of quilting cottons or another fabric you love, or you tell me. This is a super-simple flexible project.
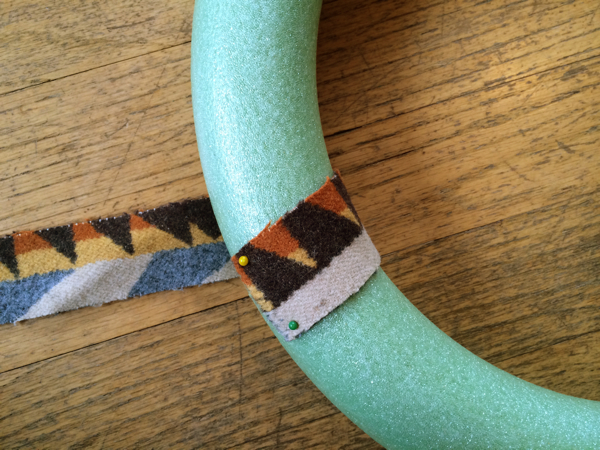
To begin, I pinned the end of my first long strip (for this width, I used two small straight pins per end) at the back of the 14” wreath and just started wrapping it around, overlapping raw edges and continuing until I reached the opposite end. I pinned that at the back (trim any extra away) and pinned my second strip there to continue wrapping. When I reached the original spot, I pinned the last strip end down at the back the same way.
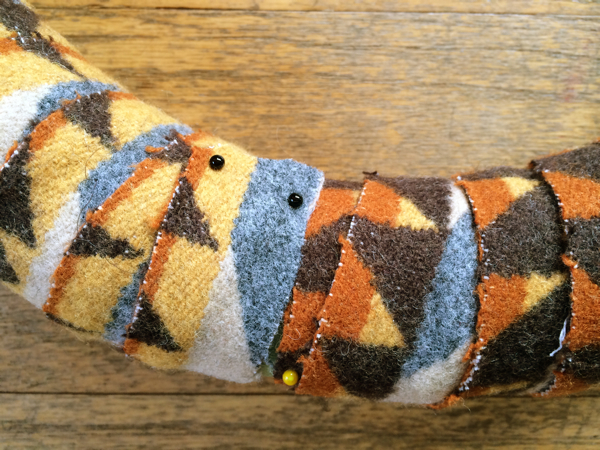
It’s hard to see, but at the 6 o’clock position below, a small wedge of the green foam wreath shows where my last wrap didn’t quite meet the beginning spot; one more wrap would have done it. That’s ok – we’re going to cover it up with a decoration!
Here’s the back of my wreath with the pinned ends – this way, you can always take the wreath apart and re-make it if you want to. You could also hot-glue it down for a more permanent version…
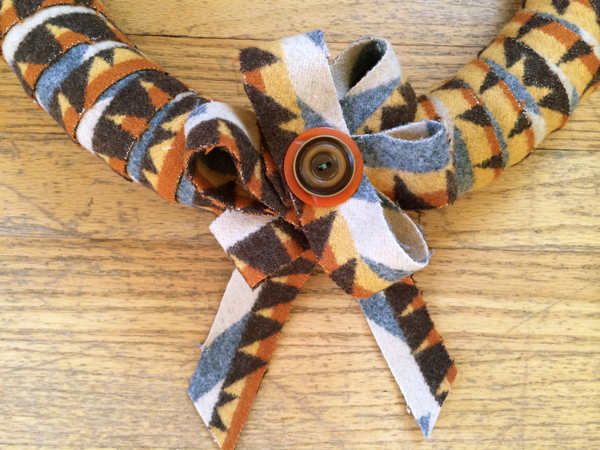
Next, I made a simple rosette based on a vintage ribbon flower corsage I have – I just looked at the way it was looped and tried re-creating something like that. I folded a new strip of wool into six loops, arranged in threes. Holding the end of the long strip in my left hand, I made my first folded loop in front of it/over it, then added a second one directly across from it, bringing the long end under as well to meet the starting spot in the center (this is the one on top of this rosette below). I tilted the angle 60 degrees and made another simple double loop, then tilted another 60 degrees for a third. Essentially, you’re making a looped asterisk with arms at the 12, 2, 4, 6, 8, and 10 o’clock positions, I made mine in this order: 12/6, 2/8, 4/10, and it curves a bit as you go, making a nice 3D petal effect. Or create your own fun decoration any way you like! I left the longer end dangling to use in my final design (more on that in a second).
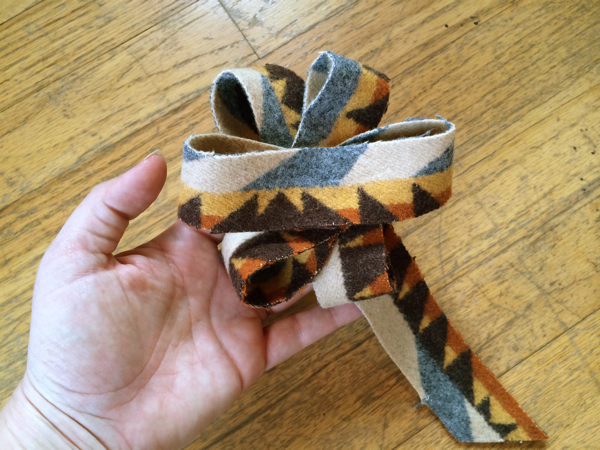
Another look at the rosette.
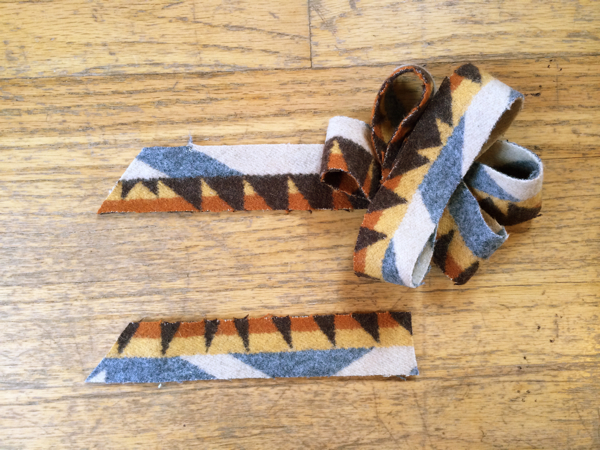
I trimmed the bottom edge of the strip at an angle and cut a second one the same way.
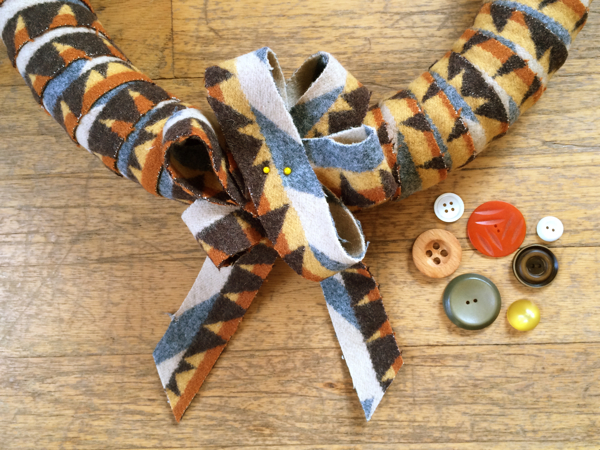
Next I pinned the rosette securely in place, over the small uncovered area of the wreath, with the two “ribbons” arranged at a nice angle behind the rosette. I picked out a bunch of buttons thinking a couple of them would be pretty, and arranged them a few different ways to decide which ones I wanted to layer over the rosette…
Once I picked two I loved, I hand-stitched them together and then sewed the joined buttons to the rosette, stitching through all the layers. For a heavier button embellishment, you might need to hot-glue or secure them more carefully, but stitching worked fine for this set.
Yay!
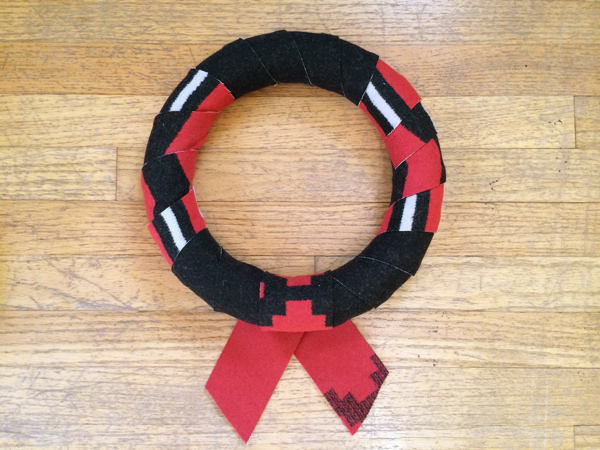
I made a simple Blazers version with my smaller (12″) wreath form and the red and black strips (I didn’t end up using the gray ones in my earlier photo). For this one, I just wrapped strips all around, then wrapped a last strip around at the bottom of the circle, and angled two “ribbons” at the back, pinning them all into place, then trimmed the angles. I also alternated between black and red/black/white strips rather than using the same one throughout!
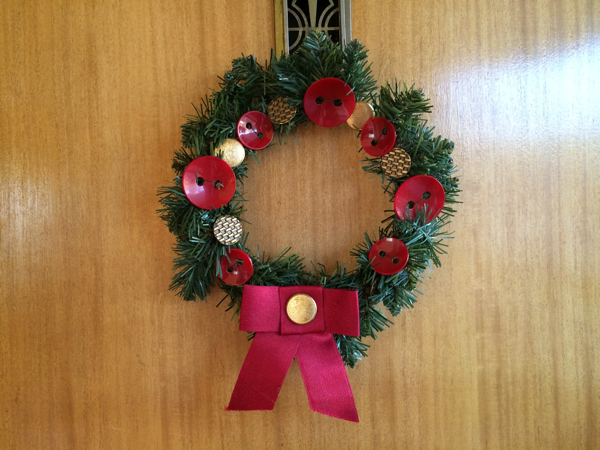
I really like both of them, and they’re going up in the rec room today! Our front door has my little button wreath from Button It Up, which makes me happy every time I see it.
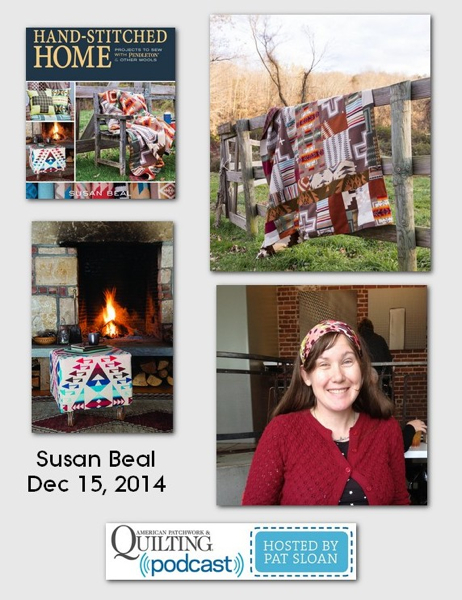
I’ll be posting another free Pendleton wool holiday project to make early next week, and I’m very excited to be a guest on Pat Sloan’s American Patchwork & Quilting Podcast this coming Monday (12/15)! It airs live at 4pm Eastern/1pm Pacific. I’ll be talking about two of my favorite things, sewing & quilting with Pendleton wool (and sharing tips from my new book, Hand-Stitched Home) and log cabin quilting. I hope you can listen in – or you can tune in later on the archives on her site!
PS: Today is the last day to enter my Sew Mama Sew Giveaway drawing for a copy of Hand-Stitched Home & wool Nesting Box kit – good luck!
Leave a Reply