


December 2005: Shrink Art Party! December 1, 2005
To celebrate the release of our new book Super Crafty, my craft collective hosted a few shrink art parties in Portland and Seattle! Read on for all the details of how to make your own cool jewels!
If you haven’t tried the magic of shrink art since you were a kid, what are you waiting for? In just a few minutes, you can make your own personalized charm bracelets, rings, necklaces, earrings, napkin rings, invitations, shoe clips, or anything else you dream up. We had a blast putting the Shrink-O-Rama chapter of our book together–it includes a page of clip art to get you started, plus instructions for all these projects!
For our parties, we brought along sheets of shrink plastic, some basic jewelry findings (ball chain, jump rings, and earwires), our favorite clip art books, lots of Sharpies and scissors, and a toaster oven for on-site shrinking. Our crafters made incredible stuff–cool earrings and necklaces galore, from naughty Santas and Dr. Seuss characters to elegant lotus blossoms.
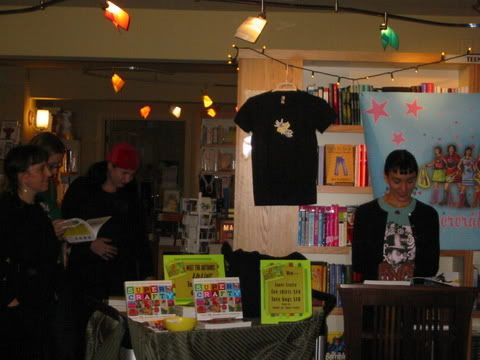
Our first party was at In Other Words bookstore in Portland, to kick off our month-long art show of projects from the book. Then we headed to Seattle for a book signing at Queen Anne Books. Our final shrink art fest of 2005 was at Reading Frenzy back in Portland.
First we read short excerpts from Super Crafty:
(that’s me off to the side trying to figure out what to read! I finally settled on “Glitter Therapy”)
Then we turned it over to our shrinkers!
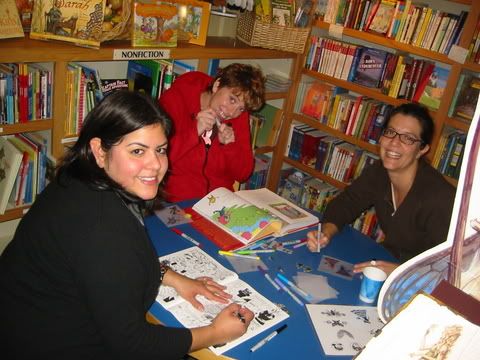
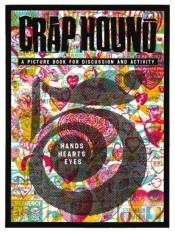
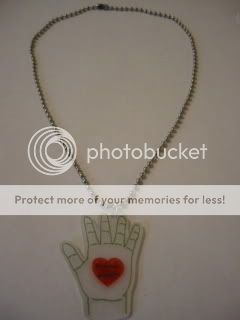
Everyone chose one of the clip art books and traced away. I wanted to make something romantic, since I’d been traveling and hadn’t seen my husband for almost a month! I decided on a necklace using hands and hearts from the incomparable clip art masterpiece Crap Hound:
First I traced the hand I liked and added a heart in the center of the palm, colored it in, and wrote both my name and Andrew’s in it. I cut it out and punched a hole near the top, and it was ready to go in the oven!
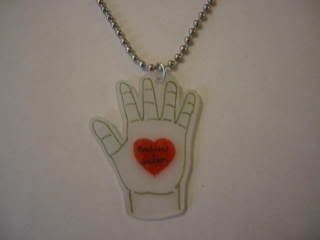
After a few minutes of curling and shrinking, my pendant was perfect. I flattened it with a spatula, let it cool and then gently moved it off the oven tray. Then I used pliers to put a large jump ring through the hole, and strung it on a 16-inch piece of ball chain.
That’s it–15 minutes of crafting and you’re wearing your new design!
Here are a few tips for successful shrinking. Check out Super Crafty for lots more ideas and info on this magical art form!
•Don’t forget that your finished piece, including any holes you punch, will be just under half the size of what you start out with. So don’t start out too small and detailed–you may end up with a dark and tiny blob.
•Sharpies are fabulous for detail and precision on shrink plastic. When you outline your piece in a dark color, the results are especially clean and sharp.
•A toaster oven is ideal for shrinking–you can peek in to watch the pieces change, and control the temperature, more easily than in a full-size oven.
•You can even buy computer printer-friendly shrink plastic for transferring your own scanned designs or photos!
Want to host your own shrink art party? Just grab the supplies I mentioned above, invite your friends over, and fire up the toaster oven!
And if you live on the West Coast, we’ll be doing more Super Crafty book events in the future, visiting Portland, Vancouver BC, San Francisco, Santa Cruz, and Los Angeles to throw more crafty parties.. and you’re invited! Check out our website for all the details!
Susan Beal is a West Coast jewelry designer, writer, and shrink art enthusiast. Check out more of her writing and crafts at susanstars.com.
Leave your comment to Cancel Reply