


make it: asterisk sunglasses case! April 24, 2014
 I share a big love of plastic canvas with Diane, and I was so excited to join her 2014 Plastic Canvas Blog Hop with a project of my own – the Asterisk Sunglasses Case! You can find all the fantastic tutorials listed at the end of this post, or of course visit her blog for TONS more details on this magical craft supply.
I’ve used plastic canvas in all kinds of projects, but this was my first needlepoint project with yarn. I had to go with aqua and orange – a favorite mid-century-inspired color combination for sure, that felt just right with these striking atomic asterisks to cover a super-simple sunglasses case.
This project couldn’t be easier to whip up – please read on for all the details! You’ll need yarn in two (or more) colors, a yarn needle, scissors, needle threader, and two pieces of PC that measure comfortably larger than your sunglasses.
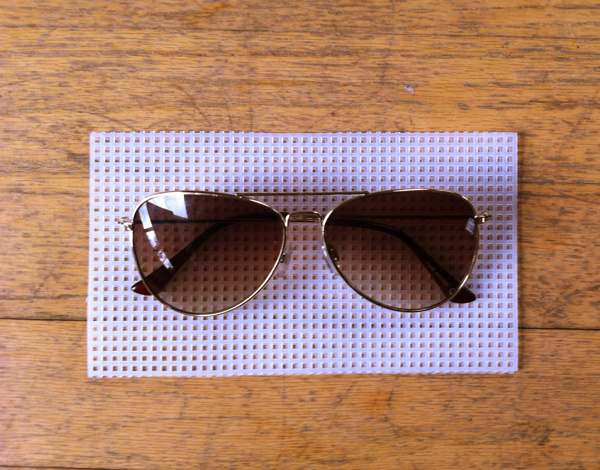
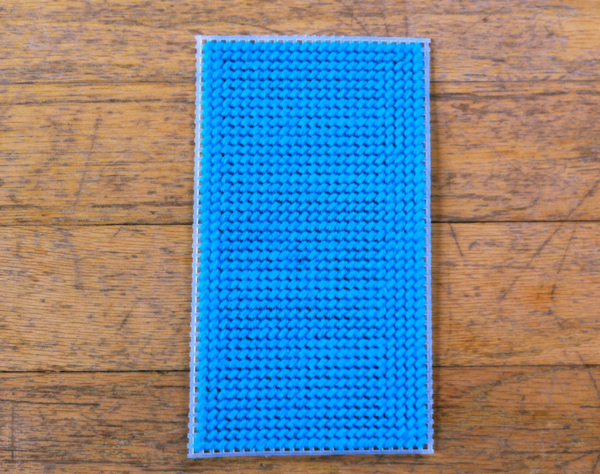
For my aviator sunglasses, that came out to 6 1/2” long by 3 3/4” wide (times two of course). Fill each of these two case sides with the stitch of your choice, leaving the perimeter open and unstitched – I did a simple allover tent stitch for a smooth background, but you can use one of Pam’s lovely stitches for a more exciting design!
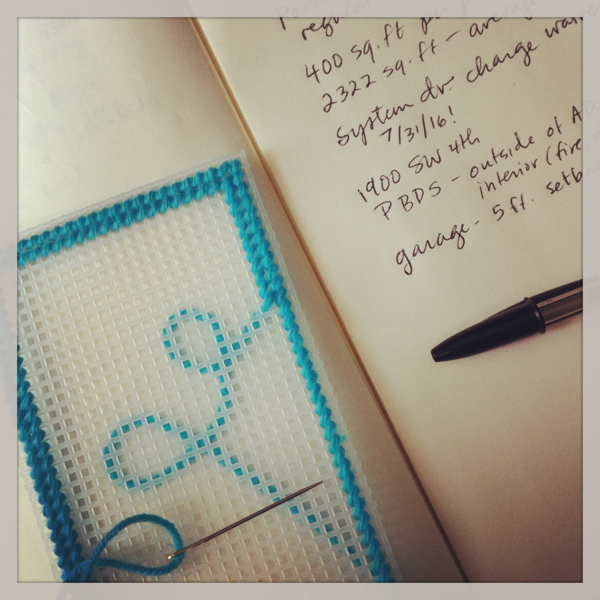
I carried this project around for a week and stitched whenever I had a few free minutes. I took an all-day class on building your own ADU (accessory dwelling unit, a small apartment) last weekend – this was needlepoint progress gold!
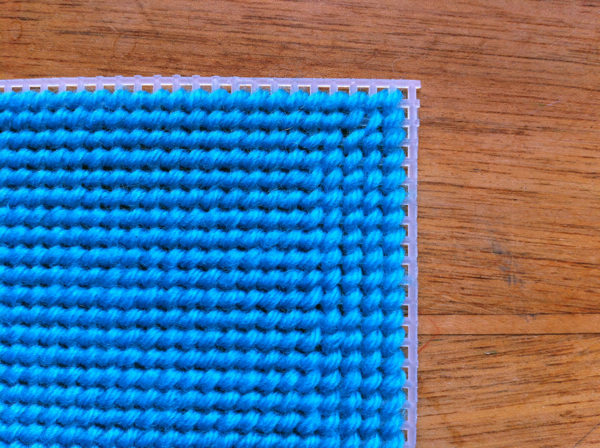
Here’s a close-up of the corner so you can see the un-stitched rim.
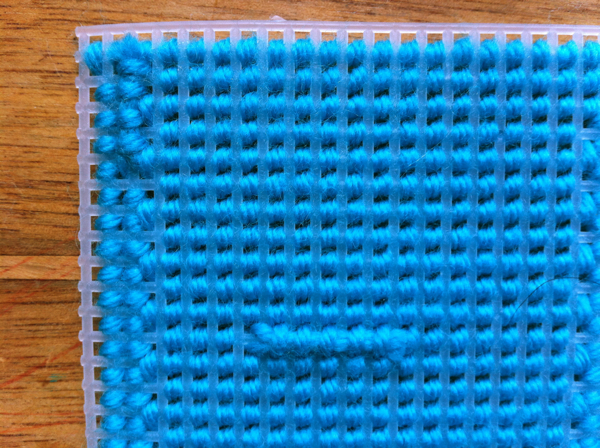
I caught and stitched my ends at the back of the stitching just as Diane did, securing them into the next row of tent stitches.
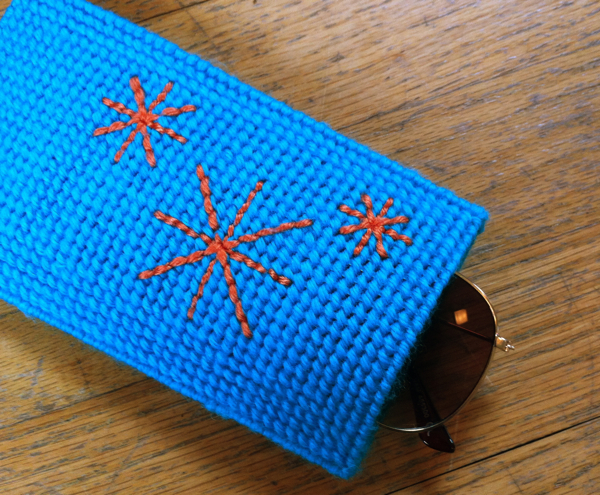
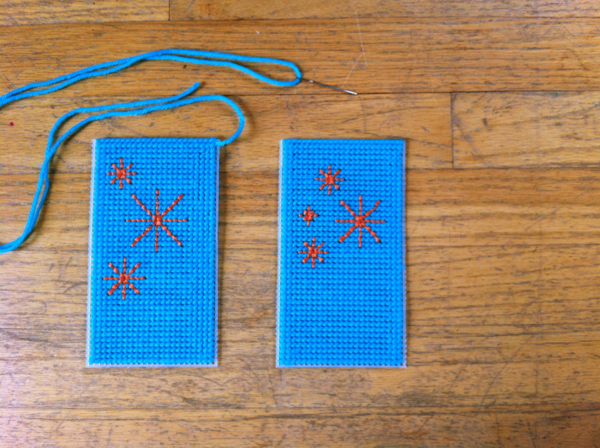
Once you’ve covered both sides of the case with your base layer, you can embellish with a straight stitch design of your choice. I free-stitched groups of asterisks ranging from 4 stitches across (the teeny one below, about 1/2”)
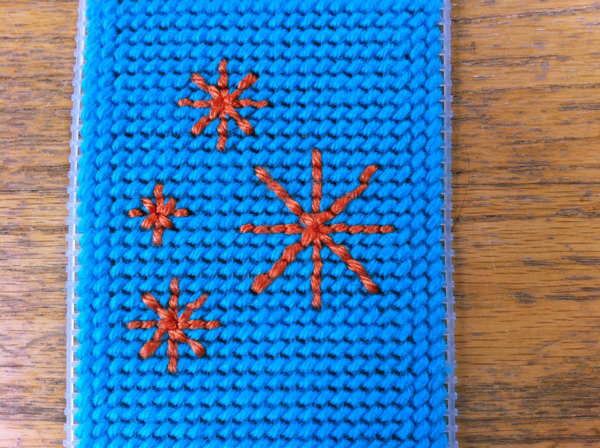
to 12 stitches across (the largest one on the opposite side, below – about 2”).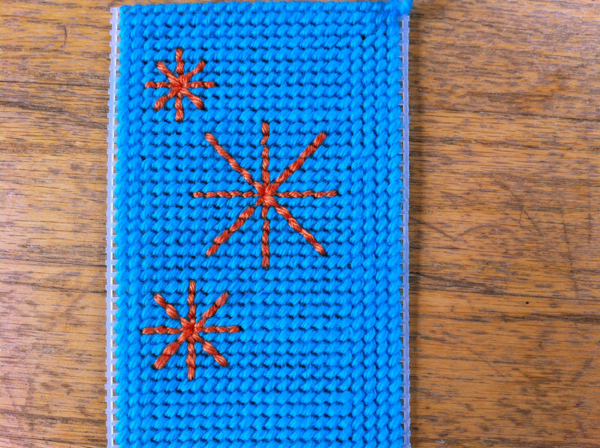
I like simplicity, negative space, and asymmetry, but you could do a symmetrical or larger pattern, of course. I didn’t match my sides exactly but I like how they relate to each other…
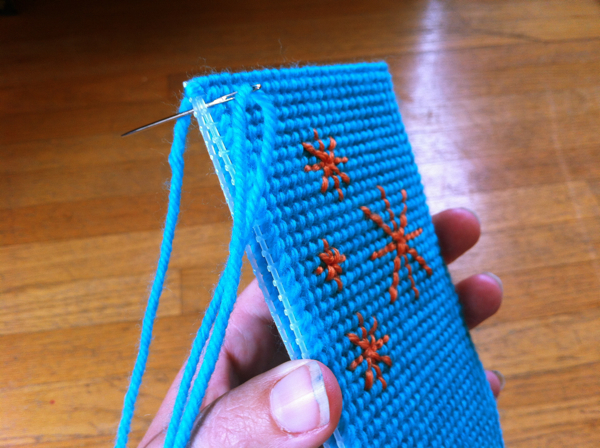
Now you’ll stitch each of your top edges with a simple overhand stitch. Once you finish the second one, use that same working yarn to begin sewing the two sides together, wrong sides facing, in the same tent/overhand stitch pattern. Stitch each of the grid blocks twice for a secure bond – no plastic canvas should show here, and I stitch 4 stitches at each corner for double security.
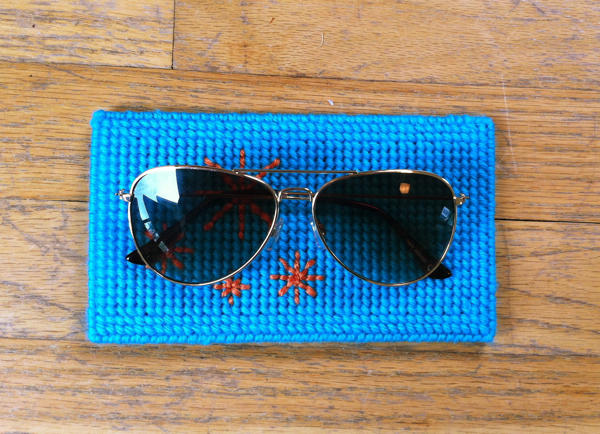
The finished case is perfect for my sunglasses!
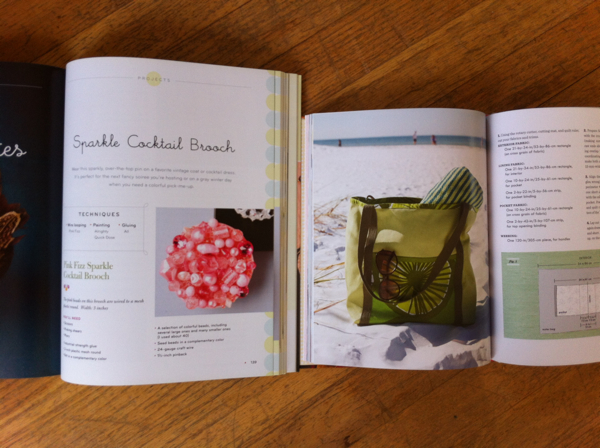
I wanted to share a couple of other plastic canvas projects I love. I made this Sparkle Cocktail Brooch (and a few others) by wiring beads, crystals and buttons onto PC rounds for Bead Simple, and I used a nice big piece of PC to reinforce the base of this Beach Tote in Sewing for all Seasons – it’s a miracle crafting substance, truly!
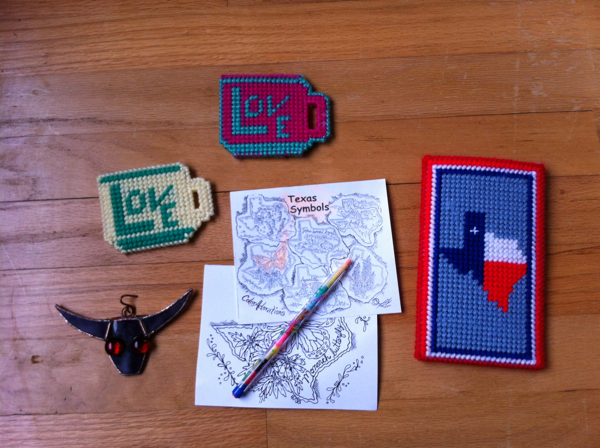
And here are my Austin souvenirs from Quiltcon* last year! Diane got one of the LOVE cups, naturally, and I love, love, love my Texas sunglasses case.
Find all the other wonderful Plastic Canvas Blog Hop tutorials here!
 PS – Speaking of Quiltcon, I’m so excited to be part of the Keys to a Successful Quilt Show webinar this coming Wednesday, April 30! It’s free to all MQG members. Get lots more info and register here!
Leave your comment to Cancel Reply