


my new Vera ironing board cover January 30, 2013
I’ve spent the last week cleaning and organizing my craft room and wow, it has been a ton of work! Last year was so busy and it felt like every minute of my childcare time was spoken for twice over. So I sewed until the last minute and rushed to pick my kids up from school instead of having time to put things away, and my stuff got cluttered, crowded, and disorganized. I couldn’t see a lot of my fabric or find a lot of my supplies without moving things around… and we all know it’s not fun when you have an idea in your head and you JUST WANT THE RIGHT FABRIC NOW.
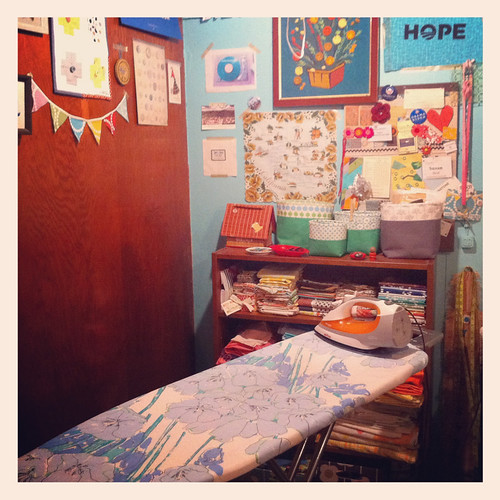
So, three or four long days later, I am so much happier and inspired working in there, and I’ve gotten to sew some new things for the house! My favorite project so far is my beautiful new ironing board cover – made from a Vera vintage sheet using this tutorial from Sew Much Good. My old plain-blue cover looked awful and crummy (I couldn’t bring myself to take a before photo, ugh) and this one is so pretty and simple and feels so right in my sewing room. It makes me happy every time I look over at it. Yay!
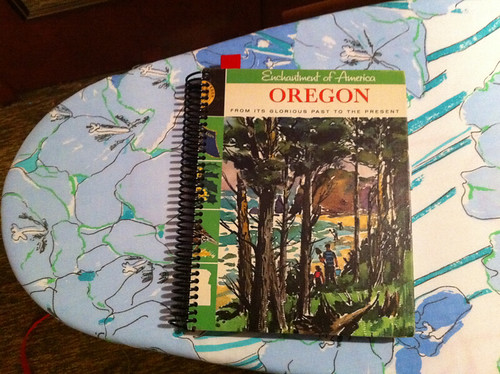
This is my 2013 craft sketchbook/journal from Ex Libris Anonymous. I LOVE it. I staple fabric swatches or pin paper patterns right to the pages and record all my notes and measurements and extras in there. It’s really nice for projects like this – when I used a great tutorial but made some of my own tweaks that I want to remember.
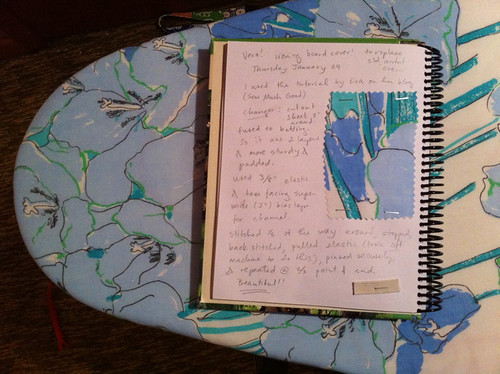
Here’s what I did differently: I cut my Vera sheet using my ironing board as a pattern the same way that Sew Much Good recommends, but then backed it with fusible batting for padding and sturdiness. The sheet was very filmy and needed some structure. That worked perfectly. Then, instead of 1/4″, I used 3/8″ flat elastic (which is what I had on hand) and instead of cutting and folding my own bias tape, I used hem facing (the flat 2″ wide bias tape you can buy at the fabric store). I needed about a package and a half. This was super easy to thread through, and a very sturdy casing.
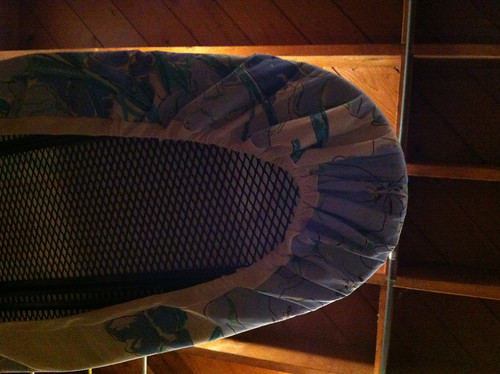
The only other thing I did differently was to stitch the bias channel on about 1/3 of the way around, then backstitch and take it off the machine entirely (instead of pulling the elastic while it was still on the sewing machine). I pulled the elastic so it gathered nicely, then double-pinned it in place there. I sewed to the 2/3 point, repeated the same gathering method and double-pinned, and finished with a third round at the end point. Then I eased the cover over the ironing board, took out all the pins, adjusted the elastic gathering so it was nice and even all the way around, and tied a good knot to secure it. Done!
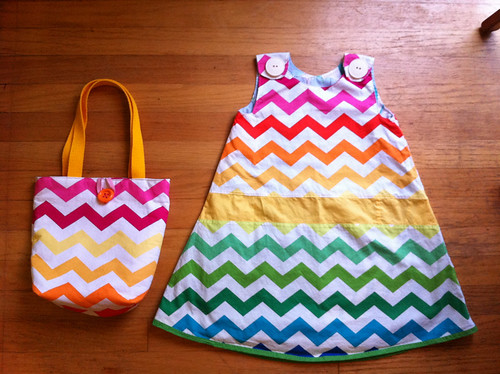
This was a super fun, fast project and I’m especially happy I could make it all with things I already had (the vintage sheet, fusible batting, hem facing, and elastic). I love the sheet, but it cost $3 at a thrift store and was a full size, measuring something like 80″ by 90″ – so when the cover inevitably gets spilled on or fused to, I can let it go without grieving that I ruined something precious or expensive. Plus, I still have a ton left, even after finishing this large-scale project and lining the reversible rainbow dress I made for Pearl for Halloween. I’m glad that these blue flowers can live on in some other sewing projects.
I hope your 2013 crafts have been fun so far! This has been a good stretch of house projects for me and I’m so grateful to have the time to work on them. I just finished sewing a couple of super simple tablecloths and cloth napkins, worked my way through most of my mending pile (FINALLY), and I’m working on some new Pendleton curtains, too.
Leave your comment to Cancel Reply