


tiny ribboned gift bags! December 17, 2009
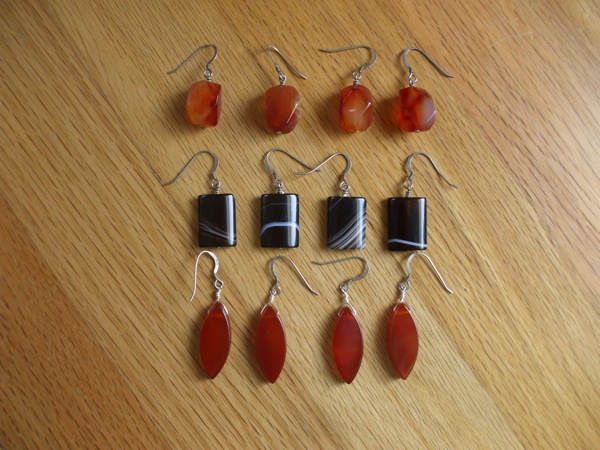
I made Pearl’s teachers some carnelian and black agate earrings for gifts this year,

and stitched up a set of Tiny Ribboned Gift Bags to put them in. Both halves of the project are very quick and easy (perfect for a day like December 17th, ahem) and I thought I’d share the how-to over here if anyone else is looking for a nice way to wrap up some small things like jewelry or trinkets, too! These bags are great for jewelry storage or travel, or just for re-using for the next gift, and you can make dozens of them from a quarter-yard of fabric, or use up your scraps making a whole rainbow of them. It’s been far too long since I’ve had the chance to post a tutorial over here and I hope you like it…
Tiny Ribboned Gift Bags
For each bag, you’ll need a remnant of fabric, an iron, scissors, a piece of ribbon, sewing machine (or needle and thread), and pinking shears. These instructions are for an earring-sized bag with some size variations at the end of the steps!
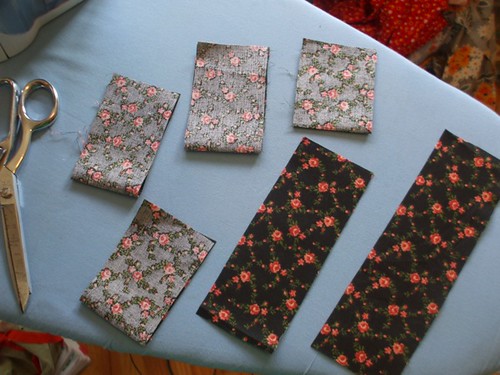
1. Cut your fabric into long rectangular pieces, about 7 inches by 2.5 inches. Press them in half with right sides facing (as shown).
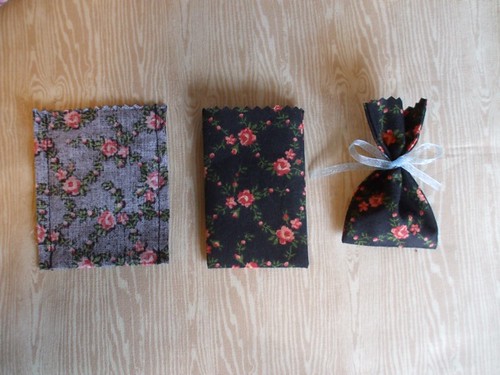
2. Stitch up both sides with a 1/4-inch seam allowance, back-stitching at the beginning and end of the seam to hold it. Turn the bag right side out and give it a quick press to shape it. Trim the top with pinking shears to give it a pretty edge (scallop-edged scissors would be nice too!)
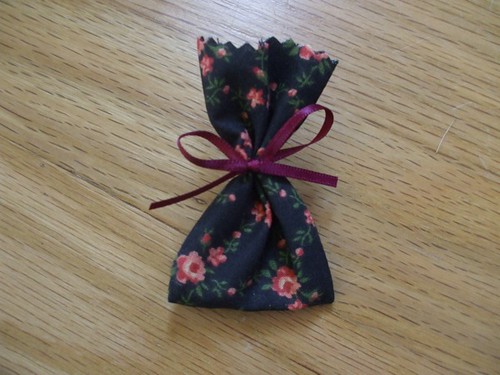
3. Cut a length of ribbon (stitching it to hold it at the back if you like — I left mine loose) and place your gift inside the bag. Tie the ribbon in a bow above the gift and trim the ends.
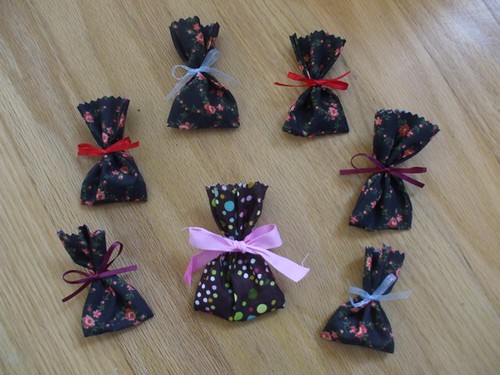
For a wider, larger bag that would work for a pendant or bracelet (like the center one above, which holds the Circle Deluxe Pendant from the jewelry photo), cut your piece of fabric 7 or 8 inches long and 3.5 – 4 inches wide. For larger gifts, just place the present on a folded piece of fabric and cut generously on each side and above (since some of the width will go to a seam allowance, and the top will be tied with ribbon too). For a larger bag, fold your fabric, stitch, press, pink the top and tie with a (wider) ribbon the same way described for the little version.
If you’re interested, I also have two more holiday craft tutorials up today — please go check them out if you’d like to!
The Carnelian and Black Agate Earrings I put inside these little gift bags are over at Bead Simple,
and I designed a new Tiny-Eyed Owl Ornament project for Button It Up!

I’ll be around this week with a few more holiday things (we decorated the tree and the house last weekend, which was so much fun) and I’ll be part of Kayte’s blog tour for Applique Your Way, too! See you then.
Leave your comment to Cancel Reply